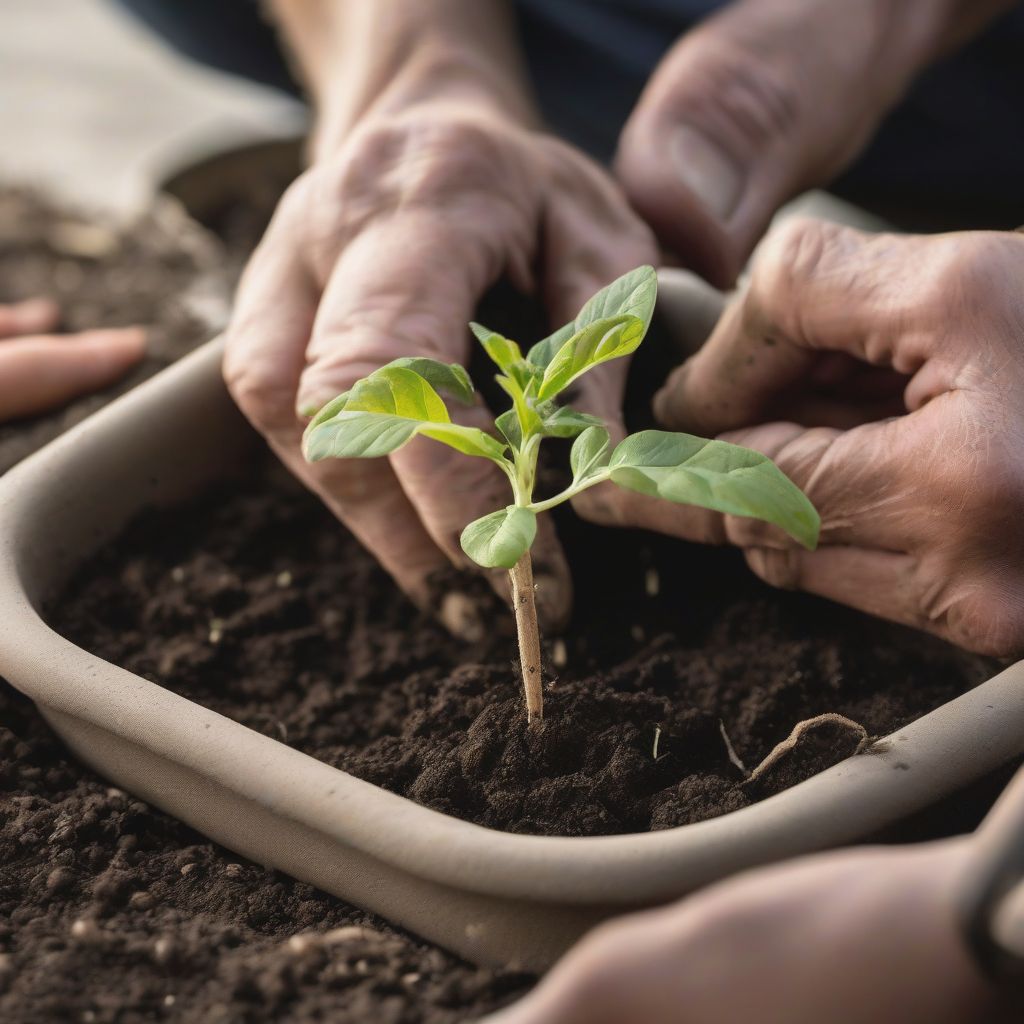
Have you ever nurtured tiny seeds into vibrant seedlings, only to feel a pang of uncertainty when it’s time to transplant them? Fear not, fellow gardener! Transplanting seedlings is a simple process that, when done right, sets your plants up for a bountiful future.
This beginner-friendly guide will walk you through each step, from choosing the right time to transplant to providing optimal care for your newly moved plants. Let’s dive in and empower you to transplant seedlings like a pro!
Why Transplant Seedlings?
Before we delve into the how-to, let’s understand why transplanting is crucial. Starting your garden from seed offers numerous benefits:
- Cost-effective: Seeds are significantly cheaper than mature plants.
- Wider variety: You have access to a wider selection of plant varieties, including unique and heirloom options.
- Satisfying experience: Witnessing the entire life cycle of a plant, from seed to harvest, is incredibly rewarding.
Transplanting allows your seedlings to graduate from their initial confined spaces (like seed trays or pots) to a larger growing environment where they can flourish.
When to Transplant Seedlings
Timing is everything when it comes to transplanting seedlings. Transplanting too early can expose fragile roots to harsh outdoor conditions, while waiting too long can lead to root-bound plants.
Here’s how to determine the optimal time:
- True Leaves: Wait until your seedlings develop at least two sets of “true leaves.” These leaves appear after the initial “seed leaves” and resemble the plant’s mature foliage.
- Root Development: Check the roots. If they’re circling the bottom of the seed tray or pot, it’s time to transplant.
- Weather Conditions: Ensure consistent warm temperatures (both day and night) before transplanting outdoors. Consult a local gardening calendar for guidance specific to your region.
Tools and Materials
Gather the following items to ensure a smooth transplanting process:
- Seedlings: Your healthy, true-leaf-bearing seedlings!
- Larger Pots or Garden Bed: Choose a container or garden space appropriate for the mature size of your plant.
- Potting Mix: Opt for a high-quality, well-draining potting mix.
- Trowel or Hand Shovel: For digging holes and handling soil.
- Watering Can or Hose: With a gentle spray nozzle.
- Gardening Gloves (Optional): Protect your hands from dirt and potential irritants.
 Transplanting Seedlings
How to Transplant Seedlings: Step-by-Step
Now, let’s walk through the transplanting process step-by-step:
1. Prepare Your New Planting Site:
- Pots: Fill your pots with potting mix, leaving about an inch of space below the rim.
- Garden Beds: Loosen the soil in your garden bed using a trowel or garden fork. Amend the soil with compost or other organic matter to improve drainage and fertility.
2. Prepare Your Seedlings:
- Water Thoroughly: Water your seedlings an hour or two before transplanting to make them easier to remove from their containers.
- Gentle Handling: Carefully loosen the soil around the edges of the seedling tray or pot. Gently hold the seedling by its leaves (not the stem) to avoid damaging the delicate stem.
3. Dig and Plant:
- Create a Hole: Dig a hole in the new planting site slightly larger than the seedling’s root ball.
- Position the Seedling: Place the seedling in the hole at the same depth it was previously growing. The base of the stem should be level with the soil surface.
- Backfill and Water: Gently backfill the hole with soil, pressing lightly around the base of the seedling. Water thoroughly to eliminate air pockets and help the roots settle.
Post-Transplant Care
Congratulations! You’ve successfully transplanted your seedlings. Now, let’s ensure their continued growth and vitality:
- Sunlight: Provide your seedlings with the appropriate amount of sunlight for their specific needs. Gradually introduce them to outdoor conditions if they were previously indoors.
- Water: Keep the soil consistently moist but not waterlogged. Water deeply and less frequently to encourage strong root development.
- Fertilize: Start fertilizing your seedlings a few weeks after transplanting, using a balanced fertilizer diluted to half strength.
- Monitor for Pests and Diseases: Regularly inspect your plants for any signs of pests or diseases. Take prompt action if you notice any issues.
Troubleshooting Common Transplanting Problems
Even with the best intentions, occasional challenges can arise. Here are solutions to common transplanting issues:
- Transplant Shock: Characterized by wilting or stunted growth, transplant shock occurs when seedlings struggle to adjust to their new environment. Provide extra care, including shade from harsh sunlight and consistent watering, to help them recover.
- Damping Off: This fungal disease affects young seedlings, causing them to wilt and collapse at the soil line. Ensure proper air circulation, avoid overwatering, and use a sterile seed-starting mix to prevent damping off.
- Pests: Keep an eye out for common garden pests like aphids, slugs, and snails. Use organic pest control methods or consult with a local gardening expert for effective solutions.
Conclusion
Transplanting seedlings doesn’t have to be an intimidating gardening task. By following these simple steps and showering your plants with a little TLC, you’ll set the stage for a thriving and productive garden. Remember, gardening is a journey of learning and experimentation. Embrace the process, celebrate your successes, and don’t be afraid to learn from any setbacks along the way.
Now that you’re equipped with the knowledge to transplant seedlings like a pro, it’s time to put your newfound skills into action. Get your hands dirty, nurture your plants, and enjoy the fruits (or vegetables!) of your labor.
What are your favorite tips and tricks for successful transplanting? Share your experiences and insights in the comments below!
[amazon bestseller=”gardening tools”]
